
饥荒联机版和队友联机网络状况一直一言难尽,在服务器中使用命令比较麻烦而且需要一定的技术水平,web界面的管理工具能够比较方便的管理服务器。
阅读全文...
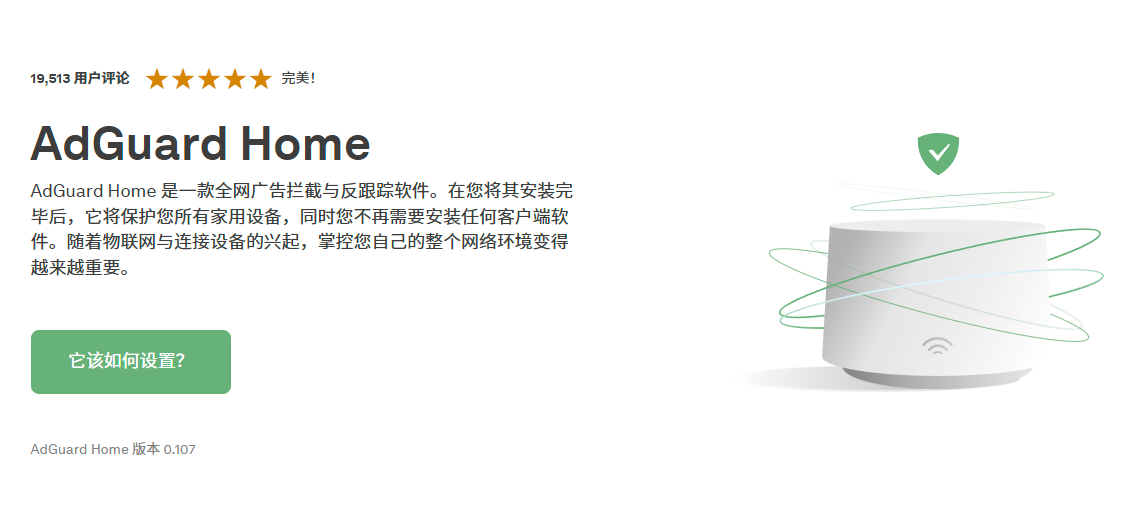
部署一个自己的全网广告拦截与反跟踪软件
前引关于AdGuard Home及其使用方法,网上已经有很多优秀文章做过详细介绍;我这里想要分享的是如何在树莓派开启热点后如何搭配dnsmasq使用。相关软件:DockerAdGuard Homednsmasq安装编辑docker-compose.yml...
阅读全文...
阅读全文...

微信小程序自定义Navbar自定义组件简单兼容写法
在项目中经常有要自定义navbar的需求,网上有很多大佬分享的教程,但有的不太兼容,有的又写的比较麻烦,这里分享一种本人在用兼容性较好而且代码比较简单的一种写法。
阅读全文...
阅读全文...

Java使用SXSSFWorkbook导出Excel工具类
一个用于Java导出Excel下载的工具类,将文件分片传输实现进度条
阅读全文...
阅读全文...

keep-alive使用记录(返回界面不刷新)
在有些时候有返回界面后需要保留回退后保留返回界面的浏览内容和滚动位置的需求,keep-alive就能够帮助我们在vue中实现这个功能。
阅读全文...
阅读全文...

使用dpkg-deb对deb文件解压、重新打包
aic8800d80相关驱动在最新的linux内核中无法安装,在网上找了很多别人重新编译的驱动都无法正常使用,后来才了解到deb文件可以解压出源码文件,在针对错误进行修改后又可以重新打包。
阅读全文...
阅读全文...

树莓派安装AIC8800d80驱动
树莓派安装aic8800d80驱动连接TL-XDN7000H USB WIFI模块
阅读全文...
阅读全文...

NextCloud更新404解决办法
前引最近两个版本的NextCloud更新时更新器出现404导致无法更新之前的版本都正常解决办法:使用命令手动更新通过手动运行更新命令,更新nextcloud版本在nextcloud根目录中运行命令:sudo -u www-data php updater...
阅读全文...
阅读全文...

EC20通过gammu接收短信再转发优化
gammu接收短信时会将大短信拆分在不同文件中,将这些文件中的短信内容拼接后实现短信的完整转发
阅读全文...
阅读全文...
为你的Typecho博客添加一个访问统计
在之前的静态Hexo 中借助的是第三方的统计平台,现在转到动态博客下,有了自己的数据库就没有必要再使用第三方的统计;于是就有了typecho访问统计插件`TeohVist`
阅读全文...
阅读全文...
最新文章


最新评论

管理控制台本身占用不大,我在一台2核2G的服务器上搭建,四五个人...
Mango / 2025-07-3 6:51

请问这个管理控制台占用怎样,因为云服务器配置不高,然后这个可以开...
shang / 2025-07-1 3:39
博客样式和功能已经做了比较多的完善,有很多参考了别人的创意,参考...
Mango / 2024-07-24 13:54
二叉树的遍历看这个图真的特清晰 ::aru:shy2::
Mango / 2024-07-18 10:30
怎么会有人蠢到上传代码没有提交审核,睡前才想起来 ::aru:c...
Mango / 2024-05-12 18:18
很多事情坚持很重要,不需要做的有多好,但是一定要坚持去做。愿你的...
Mango / 2024-05-11 16:37