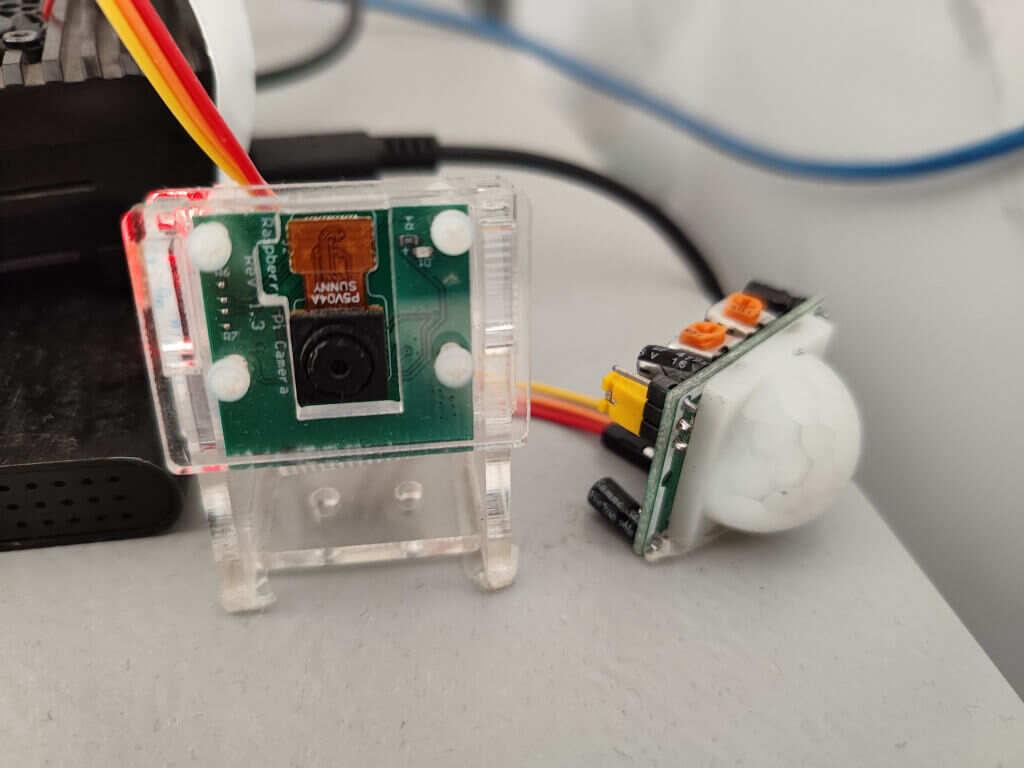
树莓派访客抓拍视频版
利用人体红外传感器hc-rs501和sci摄像头实现当有人开门进入时自动抓拍视频,起到访客监控的作用


A small corner of the internet — handmade, unhurried, and occasionally updated whenever the light is right.
Latest Post · Slow notes on photography, code, and a quiet life.
利用人体红外传感器hc-rs501和sci摄像头实现当有人开门进入时自动抓拍视频,起到访客监控的作用
利用人体红外传感器hc-rs501和sci摄像头实现当有人开门进入时自动拍照,起到对来访者纪录的作用

解决NextCloud无法上传大文件的问题
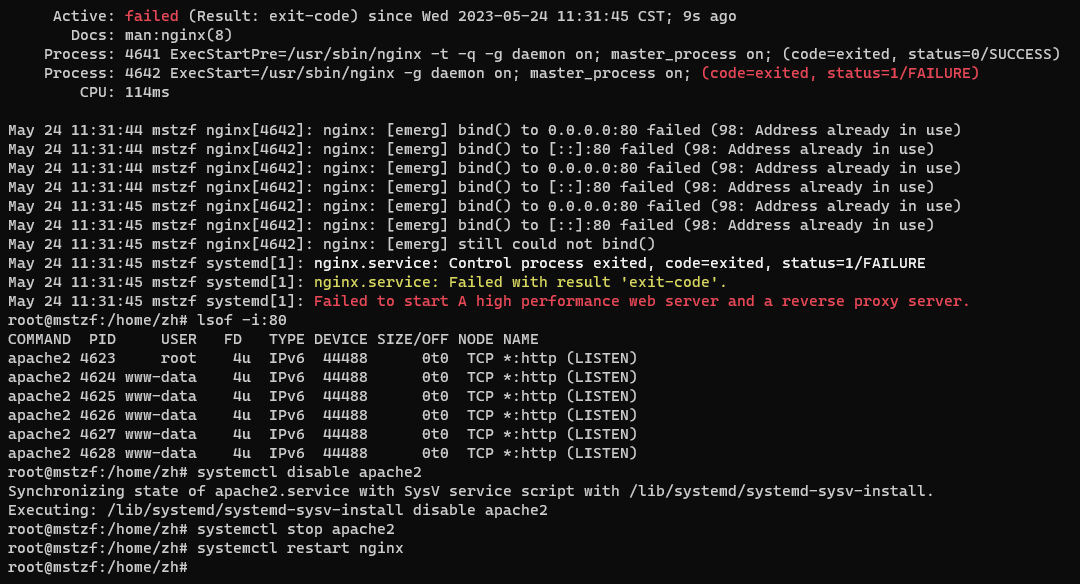
在Nginx给需要安装PHP的网页做代理的时候会偶尔出现PHP Version的界面,影响正常界面的显示

很多小白在学习SSM做Java开发时,不可避免的要搭建好相关开发环境,但是在SSM配置时又很多坑等着我们去踩,这里简单纪录一下我搭建成功的一些心得

今天帮好朋友处理处理了一个Excel表格,其中的数据中包含有文字,不能通过修改单元格格式来修改,就写了这个程序,本着不浪费的原则分享给大家
通过微信扫码来配置ESP32的WIFI连接,节约内存,操作方便,但是稳定性较差

饥荒联机服务器搭建,其中包括本地服务器搭建,云服务器搭建以及地上和地下世界分开的双云服务器搭建

在Linux上通过apt来安装指定版本的Nodejs,以及修改npm镜像
在使用双系统的时候,容易出现Win时间错误的问题,为了方便自己查找写了这篇文章