找到
6
篇与
CSS
相关的结果
-
微信小程序自定义Navbar自定义组件简单兼容写法 前引 在小程序项目中经常有要自定义navbar的需求,网上有很多大佬分享的教程,但有的不太兼容,有的又写的比较麻烦,这里分享一种本人在用兼容性较好而且代码比较简单的一种写法。 原理解释 微信小程序navbar头部可以拆分为几部分构成:状态栏高度、胶囊高度、胶囊上下两侧外边距高度 。如下图所示: 只要能取到各个部分的值,定位navbar和设置高度都会十分简单。 获取状态栏高度 const systemInfo = wx.getWindowInfo(); systemInfo.statusBarHeight胶囊按钮高度 用胶囊按钮的bottom - top const menuButtonInfo = wx.getMenuButtonBoundingClientRect(); menuButtonInfo.bottom - menuButtonInfo.top胶囊按钮的上下外边距 menuButtonInfo.top - systemInfo.statusBarHeight完整代码 ts代码 Component({ data: { navHeight: 0, // 胶囊高度 即 navbar高度 navWidth: 0, // 显示宽度 navMarginY: 0, // 胶囊上下外边距 statusBarHeight: 0, // 状态栏高度 }, lifetimes: { attached() { const systemInfo = wx.getWindowInfo(); const menuButtonInfo = wx.getMenuButtonBoundingClientRect(); this.setData({ statusBarHeight: systemInfo.statusBarHeight, navHeight: menuButtonInfo.bottom - menuButtonInfo.top, navMarginY: menuButtonInfo.top - systemInfo.statusBarHeight, navWidth: systemInfo.screenWidth - menuButtonInfo.right + menuButtonInfo.left - 10, }) }, }, })wxml代码 <view class="nav-box" style="padding-top: {{statusBarHeight}}px;"> <view style="height: {{navHeight}}px; margin: {{navMarginY}}px 0; " class="navbar"> <view>back</view> <view class="title">标题部分</view> </view> </view>wxss代码 .navbar { position: relative; display: flex; align-items: center; background-color: coral; color: #ffffff; padding: 0 16rpx; box-sizing: border-box; } .navbar .title { position: absolute; top: 0; left: 0; height: 100%; width: 100%; display: flex; justify-content: center; align-items: center; font-size: 32rpx; }这只是一个介绍原理的简单示例,具体代码要根据业务需求来做出修改
-
编译安装带 Brotli 压缩的 Nginx 安装依赖 apt install dpkg-dev curl gnupg2 build-essential zlib1g-dev libpcre3 libpcre3-dev unzip cmake -y下载编译源码 添加nginx源码库 添加 Nginx 密钥: curl -L https://nginx.org/keys/nginx_signing.key | apt-key add -添加密钥后,使用以下命令添加 Nginx 存储库: vim /etc/apt/sources.list.d/nginx.list添加如下内容 deb http://nginx.org/packages/ubuntu/ focal nginx deb-src http://nginx.org/packages/ubuntu/ focal nginx更新存储库 apt update -y 下载nginx Brotli 源文件 目录文件最好保持一致,在后续编译配置文件修改部分需要文件路径正确 cd /usr/local/src apt source nginx安装编译nginx所需要的文件 apt build-dep nginx -y从github下载 Brotli 源代码: git clone --recursive https://github.com/google/ngx_brotli.git 修改编译配置文件 修改Nginx 源并编辑 debian 规则文件添加 Brotli模块 : cd /usr/local/src/nginx-*/ vim debian/rules添加位置不同位置可能有些许不同,这里需要注意模块路径,也就是github下载 Brotli 源代码存储路径,如果位置不对需要自行修改 1.26.1版本 image-20240703160843201图片 1.22.1版本 其他版本添加位置也可能会有不同 --add-module=/usr/local/src/ngx_brotli 编译文件 使用以下命令编译并构建具有 ngx_brotli 支持的 nginx 包: dpkg-buildpackage -b -uc -us在编译时如果出现以下报错: /usr/bin/ld: cannot find -lbrotlienc /usr/bin/ld: cannot find -lbrotlicommon collect2: error: ld returned 1 exit status make[2]: *** [objs/Makefile:383: objs/nginx] Error 1 make[2]: Leaving directory '/usr/local/src/nginx-1.26.1/debian/build-nginx' make[1]: *** [Makefile:10: build] Error 2 make[1]: Leaving directory '/usr/local/src/nginx-1.26.1/debian/build-nginx' make: *** [debian/rules:62: build-arch.nginx] Error 2 dpkg-buildpackage: error: debian/rules build subprocess returned exit status 2image-20240703162706876图片 只需要编译编译一下brotli子模块即可 cd /usr/local/src/ngx_brotli/deps/brotli mkdir out cd out cmake -DCMAKE_BUILD_TYPE=Release .. makebrotli子模块编译完成后再执行编译命令 cd /usr/local/src/nginx-* dpkg-buildpackage -b -uc -us 若没有新的报错出现,在/usr/local/src就有可安装的deb软件包 安装 Nginx 并启用 Brotli 支持 安装软件包 cd /usr/local/src/ dpkg -i *.deb若软件无法安装,出现如下报错 image-20240703163851175图片 新nginx和原有的冲突,现在安装的nginx再重新安装即可 apt remove nginx apt --fix-broken install 启用Brotli 安装所有软件包后,编辑 Nginx 主配置文件并启用 Brotli 支持: vim /etc/nginx/nginx.conf在 http{ 下面添加以下行 brotli on; brotli_comp_level 6; brotli_static on; brotli_types text/plain text/css application/javascript application/x-javascript text/xml application/xml application/xml+rss text/javascript image/x-icon image/vnd.microsoft.icon image/bmp image/svg+xml;重新启动 Nginx 服务: systemctl restart nginx 验证 Nginx 和 Brotli curl -H 'Accept-Encoding: br' -I http://localhost如果一切正常,您将看到 brotli 支持的结果“content-encoding:br”,如下所示: 禁用nginx更新 将 nginx 标记为保持: sudo apt-mark hold nginx查看所有被标记为“保持”的包: apt-mark showhold取消“保持”状态,允许更新: sudo apt-mark unhold nginx
-
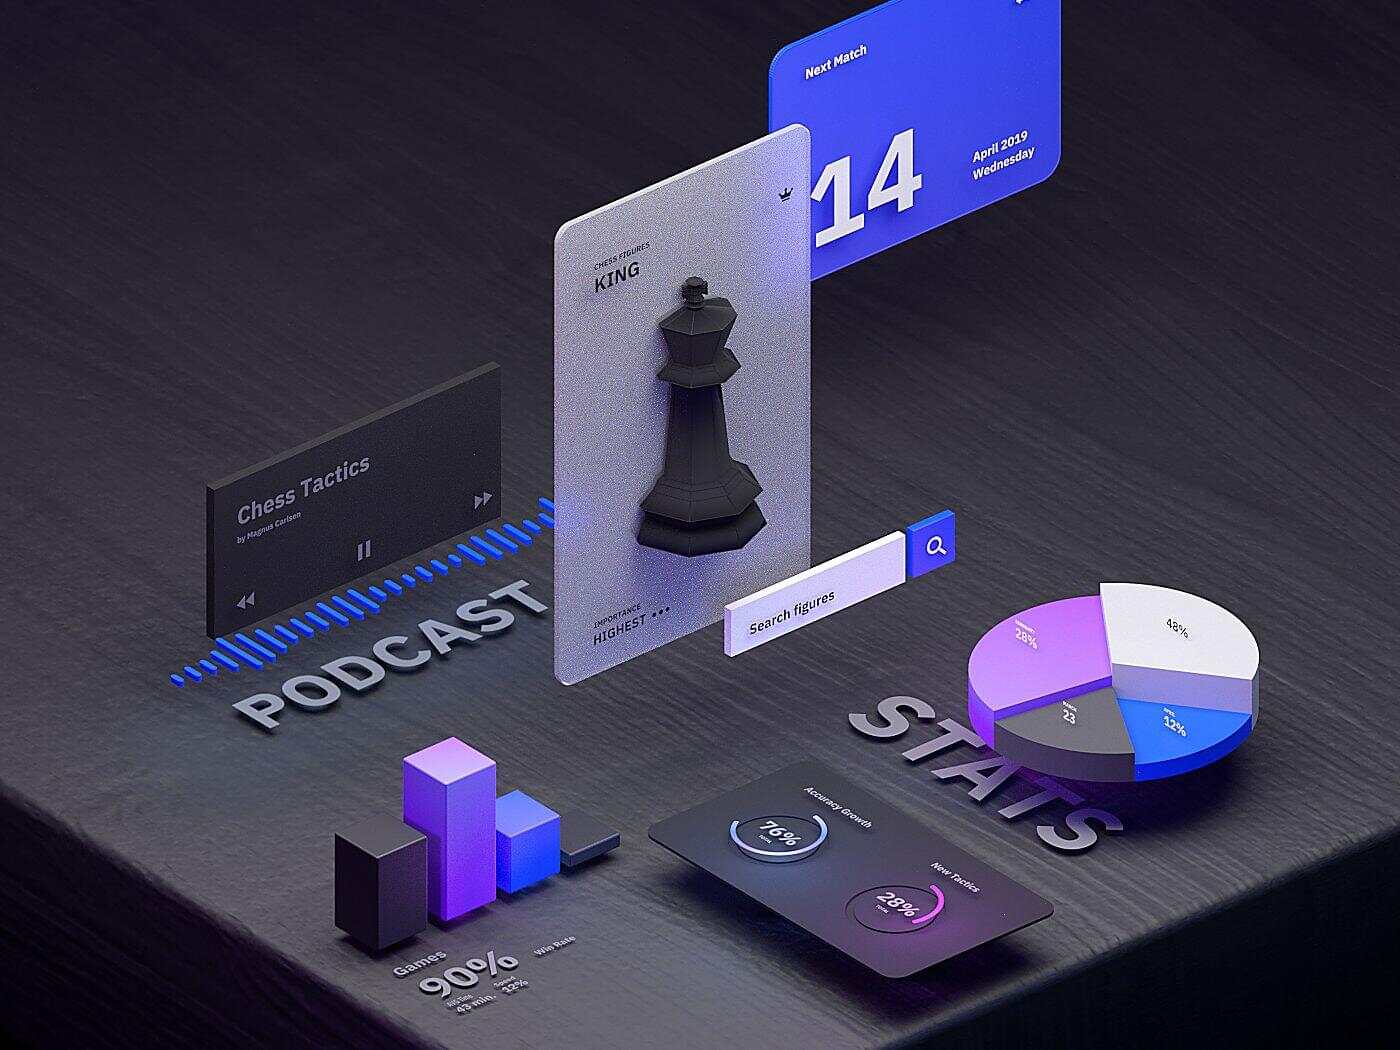
堆叠轮播图(color ui原生小程序代码优化) {% note info simple %} 界面内容并非本人原创,只是适配了原生小程序代码 {% endnote %} 最近找了一些小程序的组件库,发现了Color UI界面和色彩搭配都比较符合我的需求,但是在进一步了解的时候发现这个项目已经停更了很长时间,有一部分功能已经无法正常使用。 感兴趣的可以到作者仓库看看 {% link coloruicss,github,https://github.com/weilanwl/coloruicss?tab=readme-ov-file %} 项目中的堆叠轮播图挺好看,但是没有原生小程序代码,故此进行了简单的适配 这里封装成了组件,组件属性根据自己需求修改 tower-swiper.json { "component": true, "usingComponents": {} }tower-swiper.wxml <view> <view class="tower-swiper" bindtouchmove="TowerMove" bindtouchstart="TowerStart" bindtouchend="TowerEnd"> <view class="tower-item {{item.zIndex==1?'none':''}}" wx:for="{{swiperList}}" wx:key="index" style="transform: scale(calc(0.5 + {{item.zIndex}} / 10));--index: {{item.zIndex}};margin-left: calc({{item.mLeft}} * 100rpx - 150rpx); z-index: {{item.zIndex}};"> <view class="swiper-item"> <image src="{{item.url}}" mode="aspectFill" wx:if="{{item.type=='image'}}"></image> <video src="{{item.url}}" autoplay loop muted data-show-play-btn="false" objectFit="cover" wx:if="{{item.type == 'video'}}"></video> </view> </view> </view> </view>tower-swiper.wxss .tower-swiper { height: 420rpx; position: relative; max-width: 750rpx; overflow: hidden; } .tower-swiper .tower-item { position: absolute; width: 300rpx; height: 380rpx; top: 0; bottom: 0; left: 50%; margin: auto; transition: all 0.2s ease-in 0s; opacity: 1; } .tower-swiper .tower-item .none { opacity: 0; } .tower-swiper .tower-item .swiper-item { width: 100%; height: 100%; border-radius: 6rpx; overflow: hidden; }tower-swiper.js Component({ /** * 组件的属性列表 */ properties: { swiperList:{ type:Array, value:[{ id: 0, type: 'image', url: 'https://ossweb-img.qq.com/images/lol/web201310/skin/big84000.jpg' }, { id: 1, type: 'image', url: 'https://ossweb-img.qq.com/images/lol/web201310/skin/big37006.jpg', }, { id: 2, type: 'image', url: 'https://ossweb-img.qq.com/images/lol/web201310/skin/big39000.jpg' }, { id: 3, type: 'image', url: 'https://ossweb-img.qq.com/images/lol/web201310/skin/big10001.jpg' }, { id: 4, type: 'image', url: 'https://ossweb-img.qq.com/images/lol/web201310/skin/big25011.jpg' }, { id: 5, type: 'image', url: 'https://ossweb-img.qq.com/images/lol/web201310/skin/big21016.jpg' }, { id: 6, type: 'image', url: 'https://ossweb-img.qq.com/images/lol/web201310/skin/big99008.jpg' }] }, towerStart:{ type:Number, value:0 } }, /** * 组件的初始数据 */ data: { timer:null, towerStart: 0, direction: 'left' }, lifetimes:{ attached(){ this.TowerSwiper(); this.direction = 'left'; this.setData({ direction: "left" }) this.swiperOn() } }, /** * 组件的方法列表 */ methods: { swiperOn(){ const _this = this let timer = this.data.timer if(!timer){ timer = setInterval(()=>{ _this.TowerEnd() },1000) this.setData({ timer }) } }, // 初始化towerSwiper TowerSwiper() { let list = this.data.swiperList; for (let i = 0; i < list.length; i++) { list[i].zIndex = parseInt(list.length / 2) + 1 - Math.abs(i - parseInt(list.length / 2)) list[i].mLeft = i - parseInt(list.length / 2) } this.setData({ swiperList: list }) }, // towerSwiper触摸开始 TowerStart(e) { const pageWidth = wx.getSystemInfoSync().windowWidth this.setData({ towerStart: e.touches[0].pageX, direction: e.touches[0].pageX < pageWidth/2 ? 'right':'left' }) }, // towerSwiper计算方向 TowerMove(e) { this.setData({ direction: e.touches[0].pageX - this.data.towerStart > 0 ? 'right' : 'left' }) }, // towerSwiper计算滚动 TowerEnd() { let direction = this.data.direction; let list = this.data.swiperList; if (direction == 'right') { let mLeft = list[0].mLeft; let zIndex = list[0].zIndex; for (let i = 1; i < this.data.swiperList.length; i++) { list[i - 1].mLeft = list[i].mLeft list[i - 1].zIndex = list[i].zIndex } list[list.length - 1].mLeft = mLeft list[list.length - 1].zIndex = zIndex } else { let mLeft = list[list.length - 1].mLeft; let zIndex = list[list.length - 1].zIndex; for (let i = list.length - 1; i > 0; i--) { list[i].mLeft = list[i - 1].mLeft list[i].zIndex = list[i - 1].zIndex } list[0].mLeft = mLeft; list[0].zIndex = zIndex; } this.setData({ direction, swiperList: list }) }, } })
-
CSS实现水波纹扩散效果 主要CSS animation transform: scale() opacity nth-child() 效果展示 代码 <div> <style> .ripple { width: 200px; height: 200px; position: absolute; top: calc(50% - 100px); left: calc(50% - 100px); border-radius: 50%; background-color: blueviolet; } /* 根据需求自定义 */ .content{ position: absolute; z-index: 99; /* 与.ripple的top和left相同 */ top: calc(50% - 100px); left: calc(50% - 100px); width: 200px; height: 200px; border-radius: 50%; background-color: rgb(42, 42, 180); font-size: 20px; font-weight: bold; color: #FFF; text-align: center; line-height: 200px; } .ripple:nth-child(2){ animation: wave 1s linear infinite; } .ripple:nth-child(3){ animation: wave 2s linear infinite; } .ripple:nth-child(4){ animation: wave 3s linear infinite; } .ripple:nth-child(5){ animation: wave 4s linear infinite; } @keyframes wave { from { opacity: 1; transform: scale(1); } to { opacity: 0; transform: scale(1.5); } } </style> <div class="box"> <div class="content">内容</div> <div class="ripple"></div> <div class="ripple"></div> <div class="ripple"></div> <div class="ripple"></div> <div class="ripple"></div> </div> </div>实现的逻辑就是通过animation动画重复将这些元素放大1.5倍,同时将元素变为完全透明,从而达到波纹扩散的效果
-
Hexo搜索引擎优化(SEO) 前引 我们费尽心血写出来的各种博客,当然是希望分享给更多的人,让更多的人看到的,但是如果只是在自己的小圈子里面去分享的话,很难有好的浏览量,所以就需要我们去优化搜索,让浏览器收录我们的网址,这样在有人在浏览器搜索对应关键字的时候就有可能将我们的文章推荐给他。 道理虽然是这样,但我自己的浏览数据也一直少得可怜 -190f176b0e175c2a" style="zoom:25%;" /> 搜索平台收添加搜索平台 站长管理平台地址 必应站长管理平台 谷歌站长管理平台 百度站长管理平台 登录到搜索平台的站长管理页面,将自己的域名添加后,还需要进行验证,有三种方式,截图以必应的为例 文件验证 下载对应平台的验证文件后,将其保存到网站的根目录,hexo博客框架的话推荐保存到source/目录下,这样每次生成静态页面后都会在public文件下存在,当然也可以直接在public/下添加,但是在运行hexo clean之后被删除。 其他博客框架添加方法也大同小异,只要确定网站根目录然后添加即可。 最终达到的效果就是:能够通过https://你的域名/下载文件名直接访问到文件内容即可 HTML标签验证 将获取到的Meta粘贴在HTML文件的 <head> </head> 部分中 以下为必应下的Meta样式: <meta name="msvalidate.01" content="9565AFED5E9E8A24241BB5E6223CCB04" /> 我用的是hexo的butterfly主题,添加方法作者大大已经弄好,直接将获取到的值添加就行 Butterfly 安裝文檔(四) 主題配置-2 | Butterfly
-
CSS设置元素居中 一、利用margin 将margin设置为:margin:auto; auto意为自动填充。程序会计算元素两边的边距剩余情况,然后将剩余的边距平均的分配到元素左右两边,从而使元素水平居中但是这样仅仅只能使元素在水平上居中,在垂直方向上任然没有被居中。 image-20220709164120998图片 若要利用margin使水平、垂直方向上都居中则可以设置子元素(被居中元素)为绝对布局,设置父元素为相对布局。 /* .box1为父元素 .box1-1为子元素 */ .box1 { position: relative; height: 200px; width: 200px; background-color: red; } .box1-1 { position: absolute; top: 0; bottom: 0; left: 0; right: 0; margin: auto; height: 140px; width: 140px; background-color: blue; }image-20220709164746423图片 绝对定位的元素的位置相对于最近的已定位祖先元素,如果元素没有已定位的祖先元素,那么它的位置相对于最初的包含块。所以在使用绝对定位时,为了避免元素乱跑,将其父元素设置为相对定位。 二、利用相对定位设置上下左右距离来实现 在相对定位中设置: top:50%; left:50%; 在理论上就可以使元素水平和垂直都居中,但是由于元素坐标判定点位于元素开始位置,而不是正中间,就导致出现下面这种情况 image-20220709165939523图片 可以看出仅仅只是黑色方块的起始位置被居中,而不是整体都居中。 可以使用transform: translate(-50%, -50%); 使元素整体沿x,y轴平移使其居中 /* .box2为父元素 .box2-1为子元素 */ .box2 { height: 200px; width: 200px; background-color: yellow; } .box2-1 { position: relative; left: 50%; top: 50%; transform: translate(-50%, -50%); height: 140px; width: 140px; background-color: black; }image-20220709170725647图片 三、通过弹性布局 display:flex;一个功能十分强大的布局方式。 flex的主要属性: flex-direction flex-wrap flex-flow justify-content align-items align-content 只需要将主轴和交叉轴都设置为居中,整个元素都会被居中 /* .box3为父元素 .box3-1为子元素 */ .box3 { display: flex; align-items: center; justify-content: center; background-color: orange; height: 200px; width: 200px; } .box3-1 { background-color: brown; height: 140px; width: 140px; }image-20220709171443694图片